I love my business but hate the sales grind
That's why you're stuck in a vicious cycle of feast or famine
I'm always working, but never ahead.
Who has time to go get leads?
Sales pipeline? I don't even have a CRM.
Every sale feels like luck, not strategy.
I avoid following up with leads.
I'm stressed because I can't predict revenue.

Imagine The Feeling Of Predictable Revenue
(it feels really good)

You Can Finally Start To Dream Again

No More Anxiety From Income Uncertainty

Make Confident Decisions Instead Of Guessing

Nothing Feels Better Than Money In The Bank
The Roadmap For Your Success

1. Go-to-Market Strategy
The latest software won’t fix your problems. You need a scalable plan that drives real revenue. We’ll meet, understand your goals, and co-craft an action plan.
Define your ideal customer persona
Map your customer journey
Get clarity on your unique selling proposition
Create a messaging framework for sales and marketing
Identify high-profit offers
Locate your customers online
Create story-driven sales and marketing narratives
2. Implementation
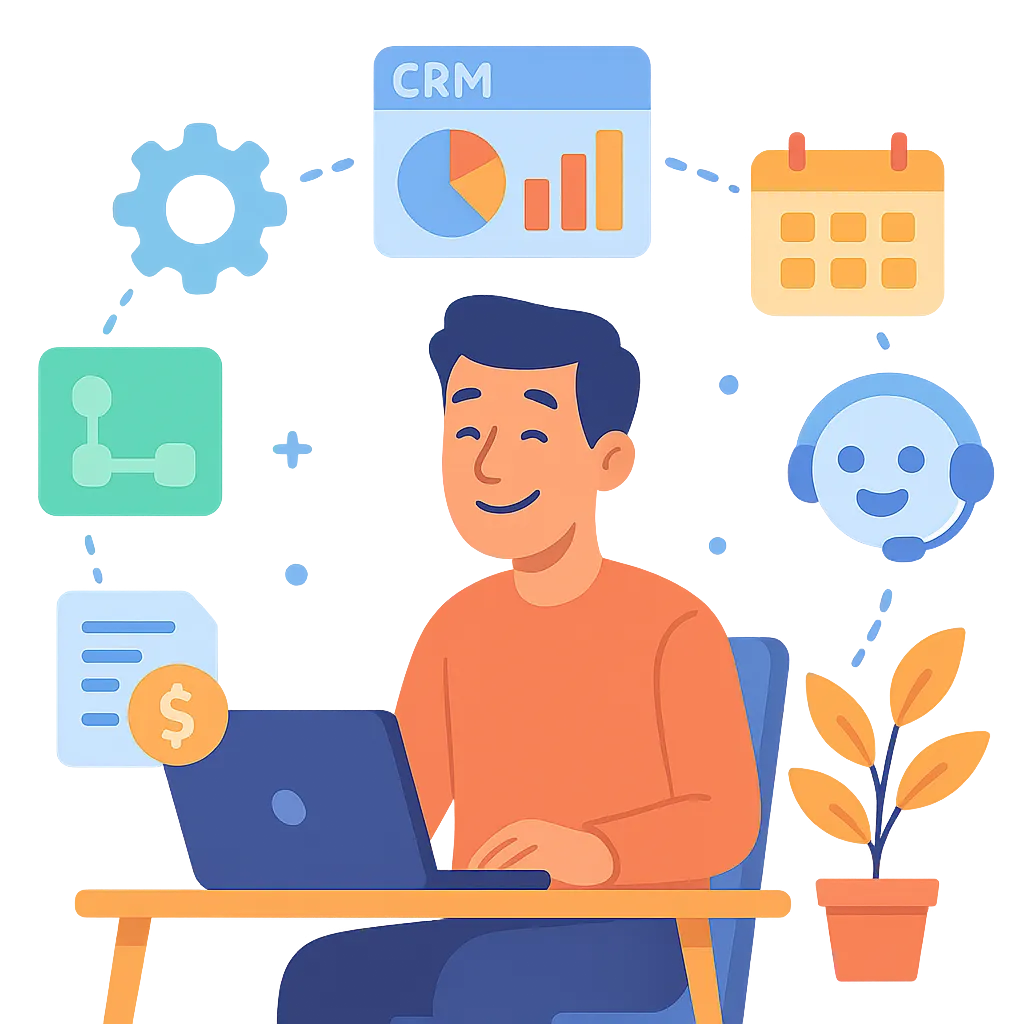
Transforming your go-to-market strategy into reality takes effort. It’s technical, time-consuming, and overwhelming. That’s why we do it for you.
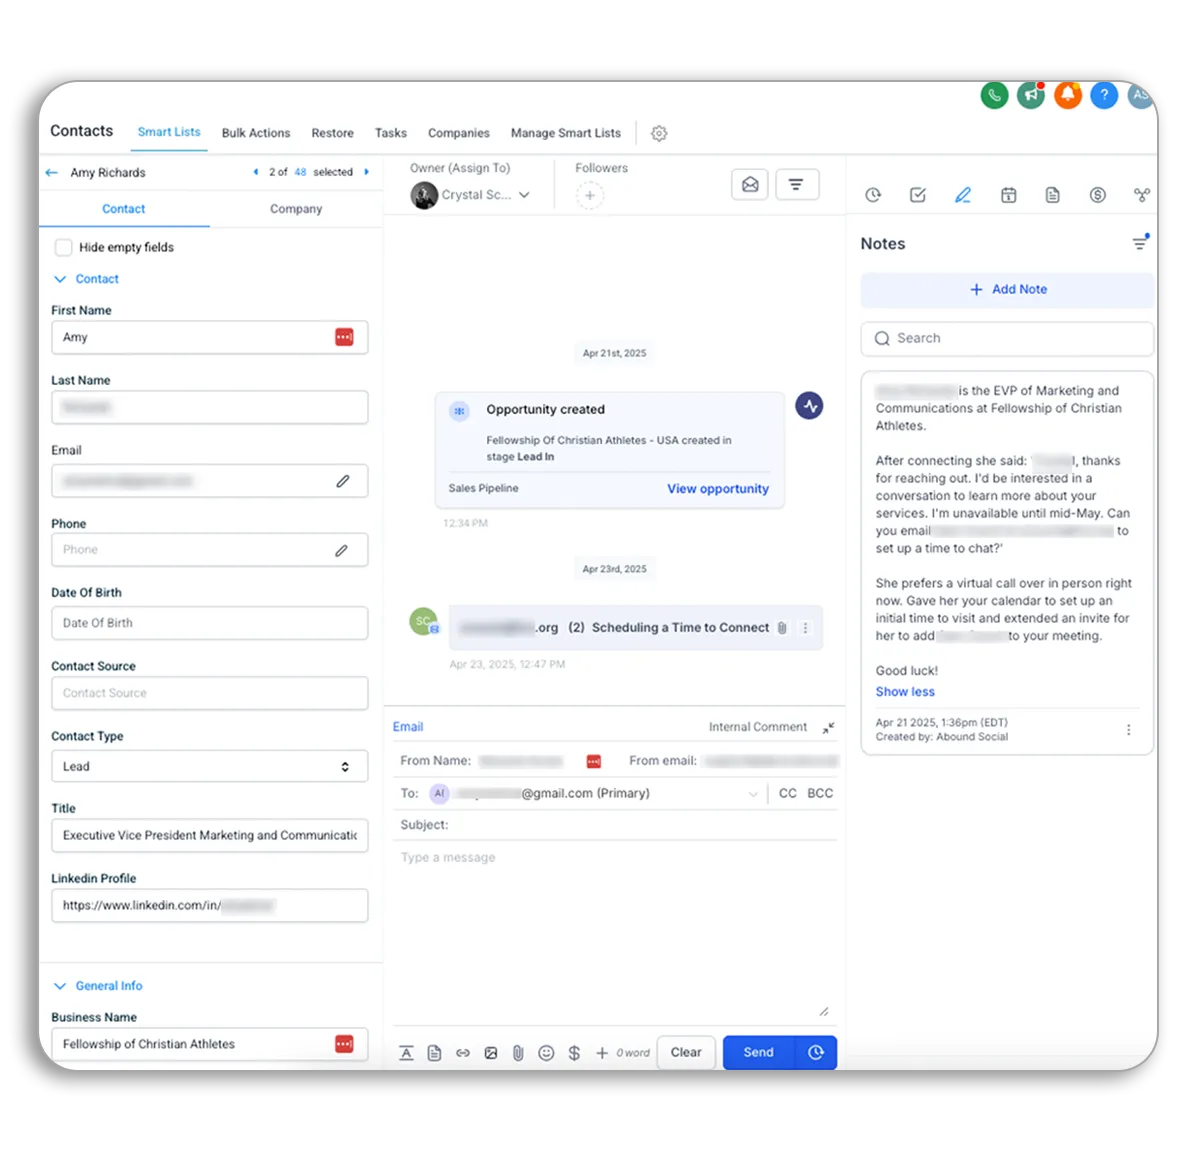
CRM setup to track every opportunity
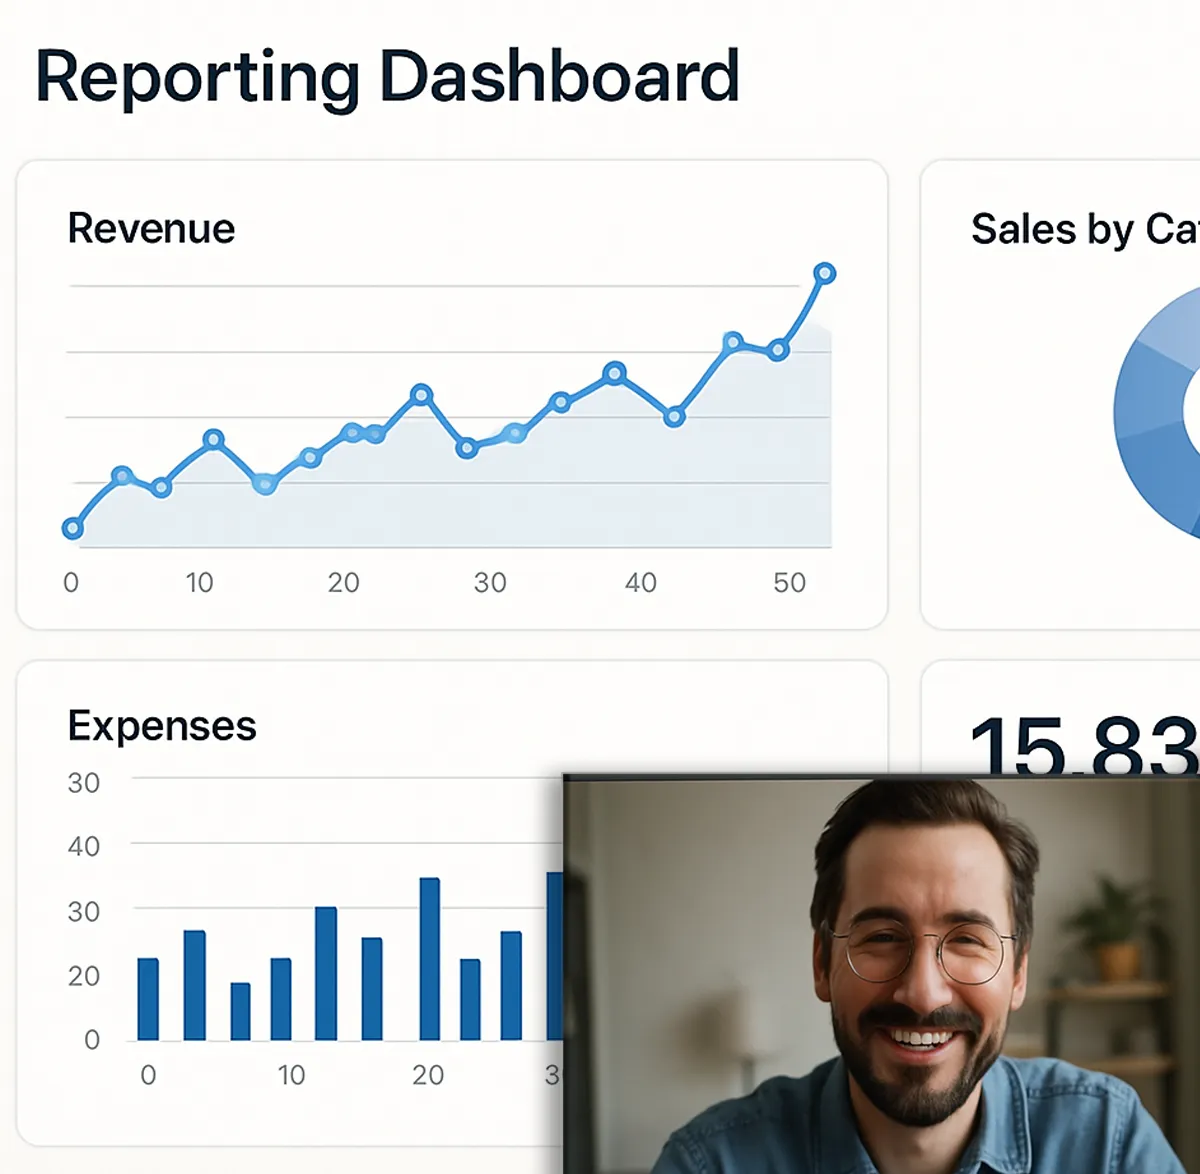
Reports for sales forecasting
Sales and marketing email templates
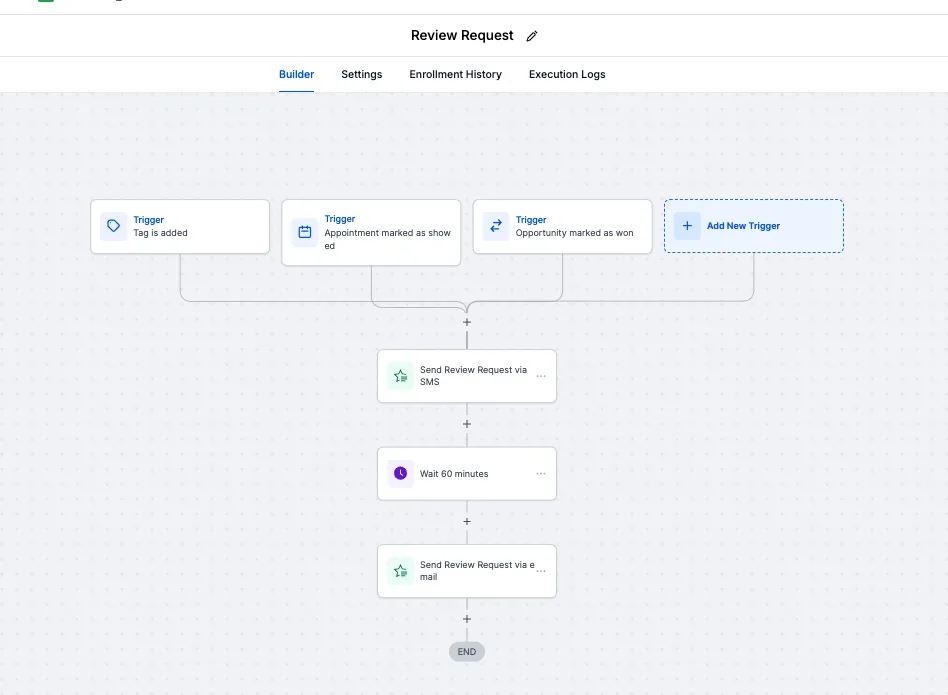
Automated email & calendar workflows
Invoicing, payment, and calendar integration
AI video storyboarding

3. Find Your Sales Opportunities
Your time should be spent closing deals and making clients happy. Not chasing down leads. We’ll find opportunities for you.
We proactively find leads for you
Opportunities added to your CRM with detailed notes
Virtual events for thought leadership & sales
AI video production for sales enablement
4. Make Improvements
We are obsessed with your success. That means continuous improvement of our efforts, AND advising you on ways to maximize revenue across all departments.
Track pipeline velocity, drop-offs, cost per lead and acquisition
Improve what's working, and cut what’s not
Test variations of messaging and response handling
Continually improve lead targeting using feedback from sales and marketing

BONUS: Give Your Sales Team Content
They WANT To Share
If your sales team resists sharing the content you've created for them, the hard truth is they don't find it interesting. We'll craft story-driven videos for your lead segments and use AI to produce them at scale. Your team will be excited to share them.
Okay, I'm interested... but what exactly do I get?
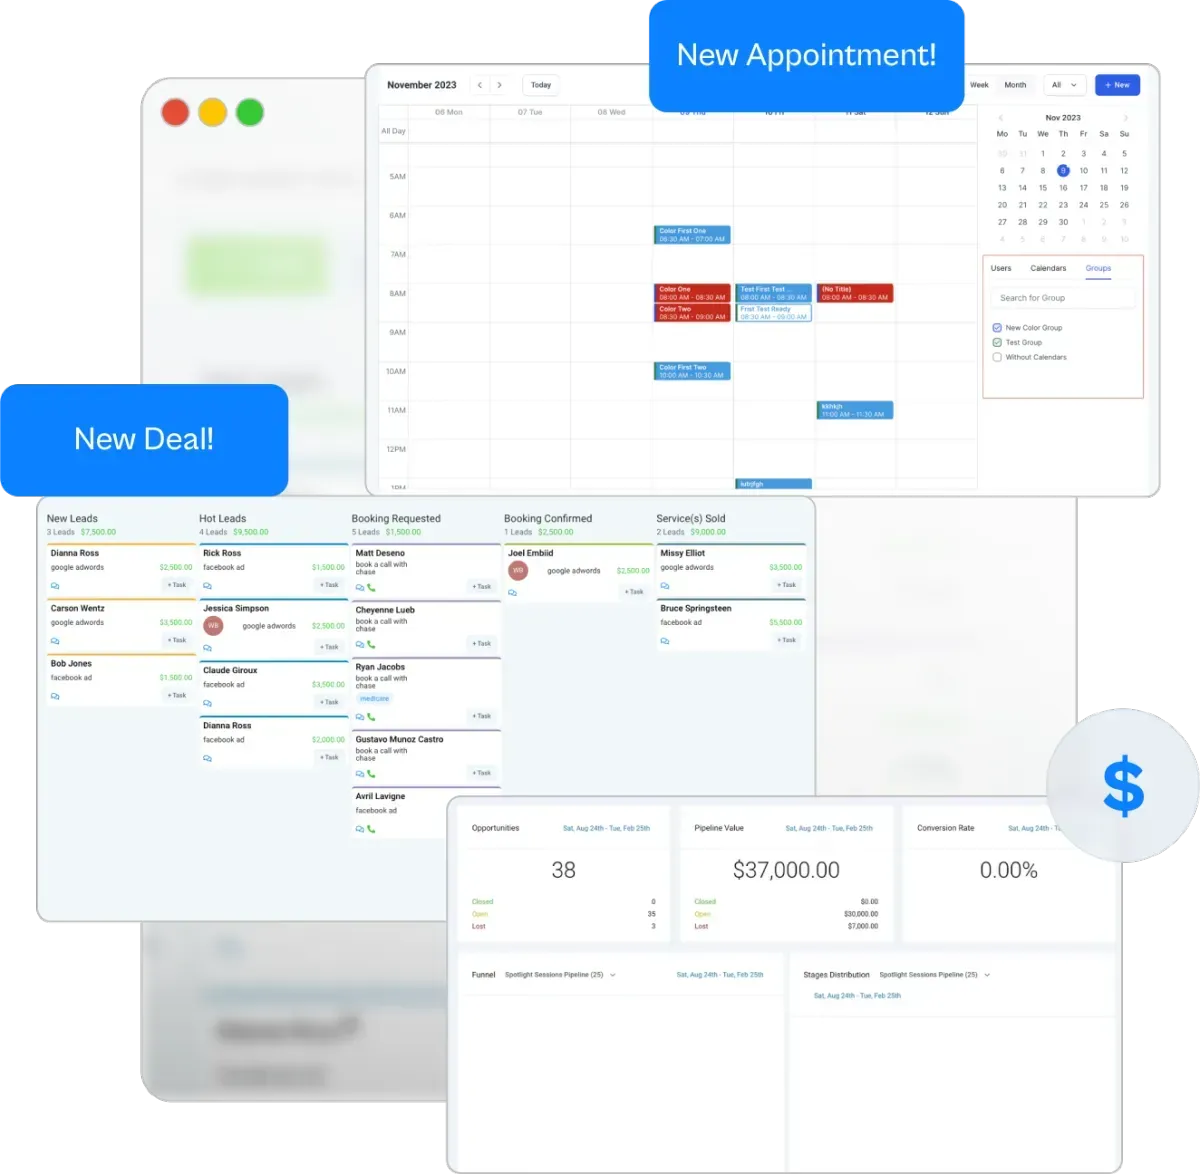
Online Appointment Scheduling & Automated Lead Capture
Never lose another lead because you forgot to follow up. Leads book directly into your calendar and get captured automatically—no extra work, no slipping through the cracks. Stay organized and in control without lifting a finger.
Story-Driven AI Videos That Sell
A video can communicate a point in a way words never will. We take the pain points your customers experience and craft a story that's humorous, interesting, and conveys the problem you solve. Your sales team will love them so much they'll text the videos to leads.

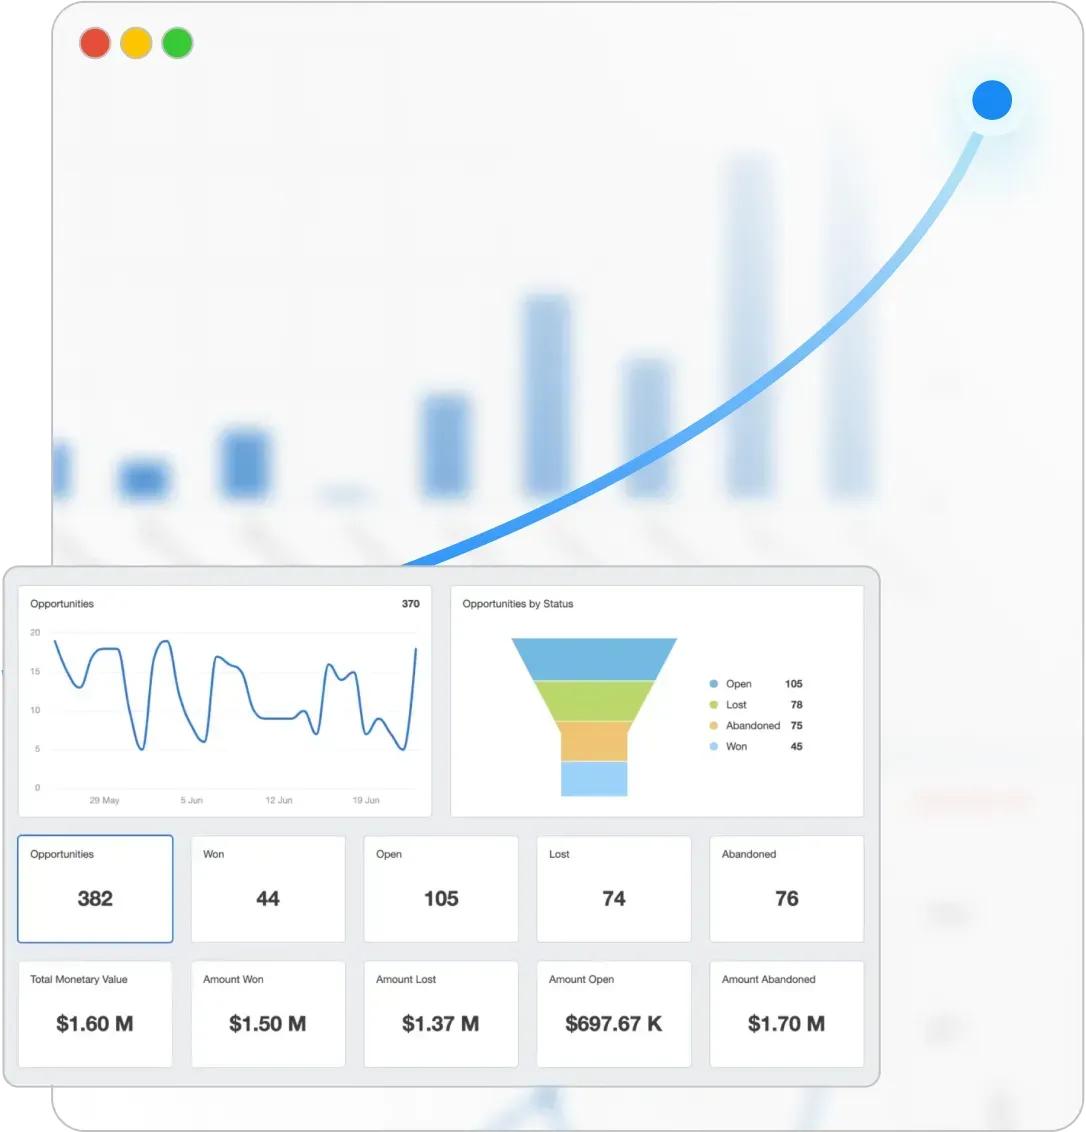
Revenue Forecasting Dashboard
Finally know what your next month looks like—before it happens. Our dashboard gives you crystal-clear visibility into sales pipeline value, future revenue, and opportunities at every stage. Make smarter, faster decisions with real numbers backing you up.
AI Sales Assistant & AI Agents
Think of them as extra hands for your sales team (without the salary). AI agents handle lead research, follow-ups, and reminders automatically, so you stay focused on closing deals instead of chasing tasks. It’s like cloning your best habits—without cloning your workload.
Sales & Marketing Workflows
We build the follow-up systems you’ve always needed but never had time to create. Automated emails, reminders, tasks, and handoffs happen without you thinking about them. Every opportunity moves smoothly from lead to close—with less work on your part.
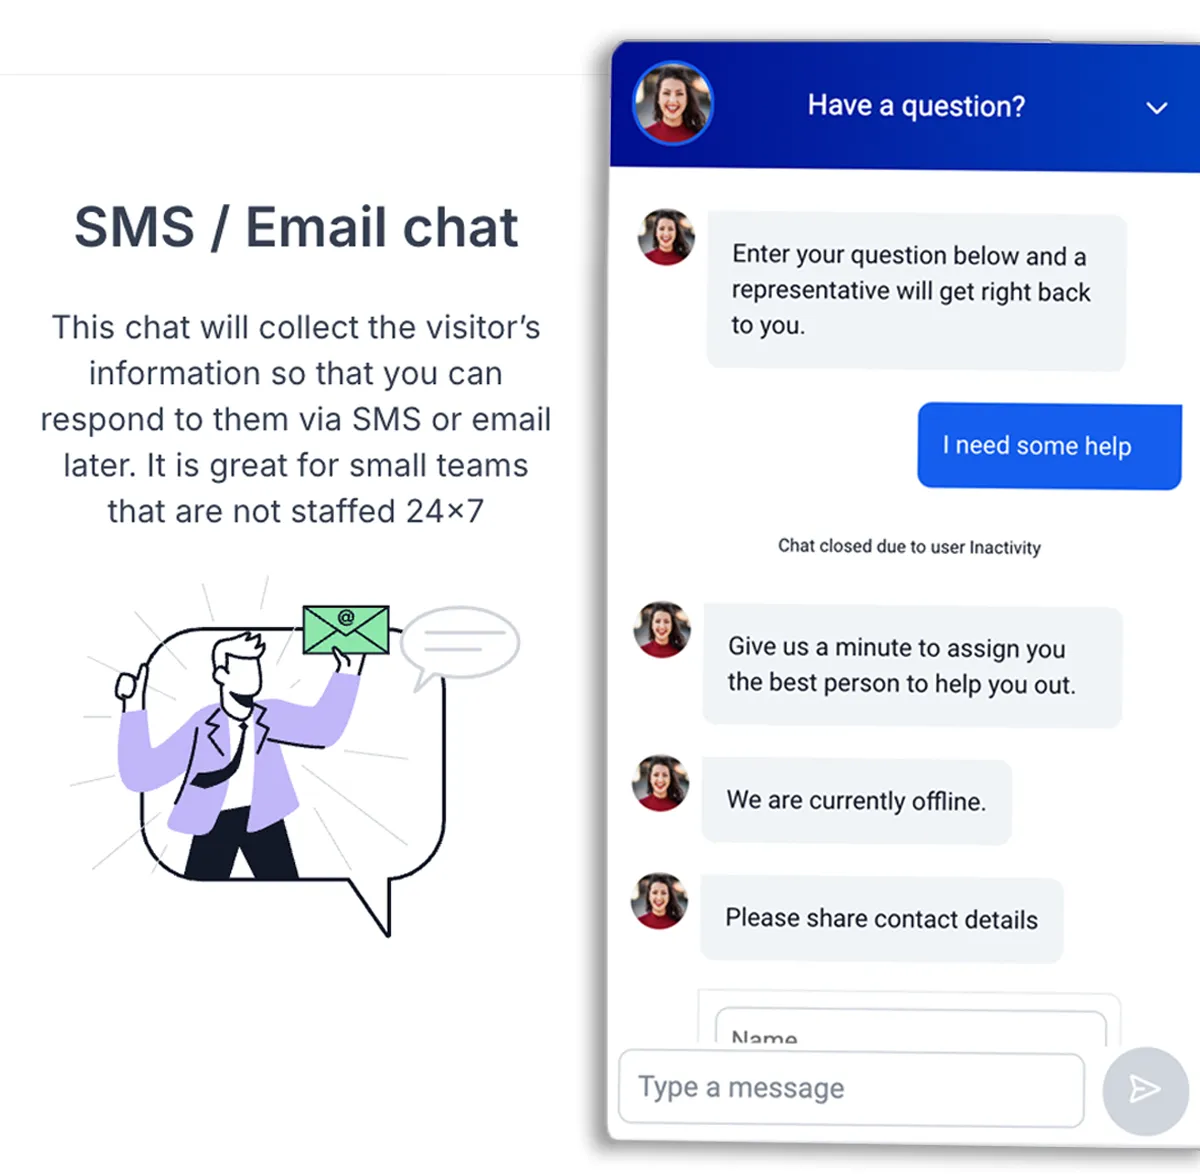
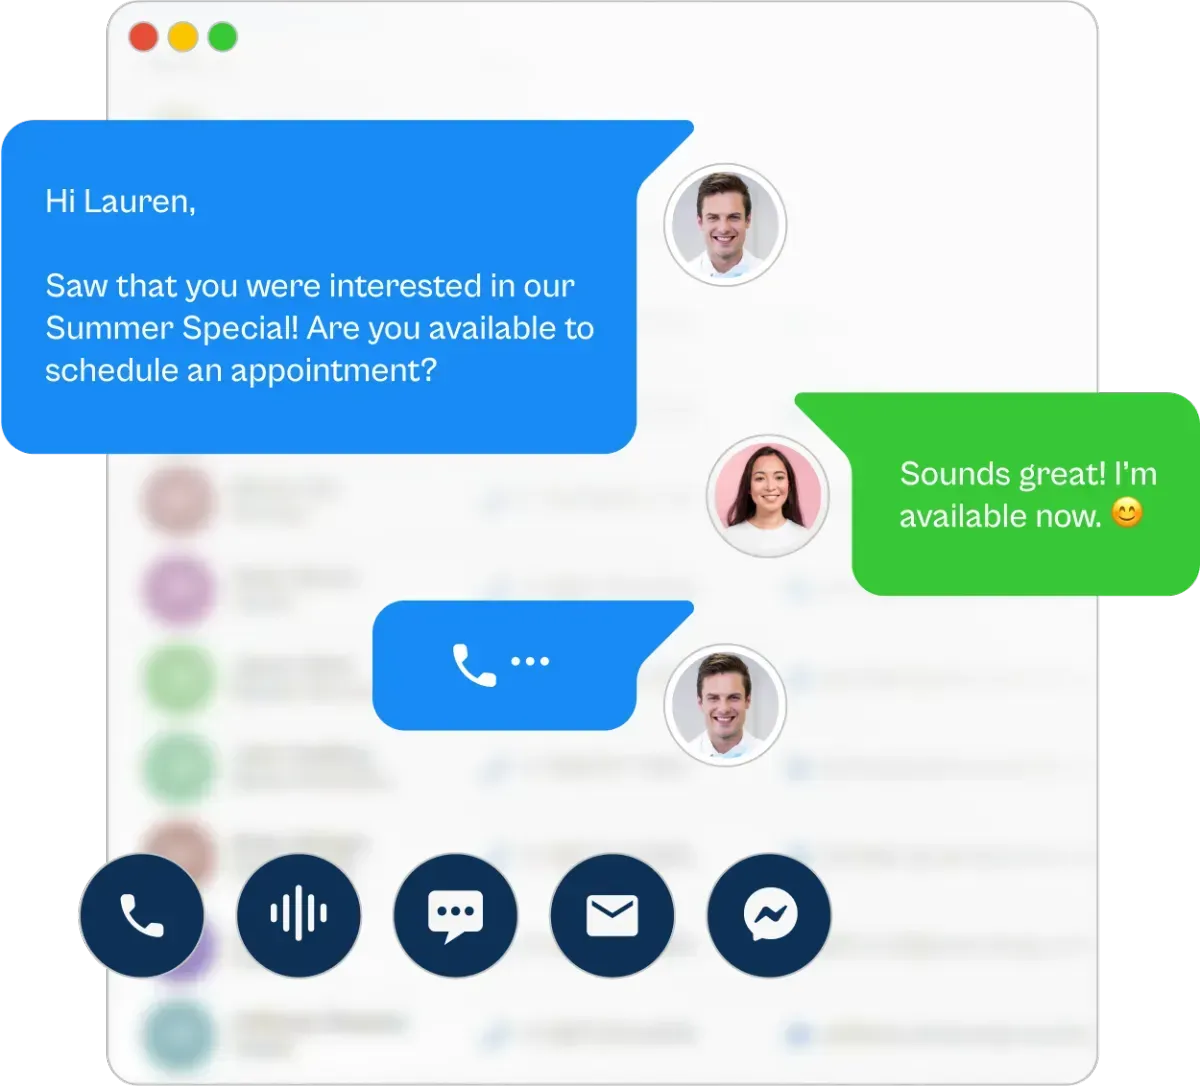
One Inbox For Email, SMS, & Messenger
Tired of checking 10 different apps to talk to prospects? Now every email, text, and Messenger message flows into one simple inbox. Respond faster, stay organized, and never miss an important conversation again.
Ongoing Coaching & Data Reviews
You’re not just getting software—you’re getting a partner. We meet with you regularly to review your numbers, fine-tune your system, and show you where to make profitable improvements. You’ll always know what’s working—and what to fix.
Done For You Advertising & Prospecting
We bring the opportunities to you. Our team and AI agents run targeted ads and outreach campaigns across Google, LinkedIn, social media, and more—so your next customer is already warmed up and ready to talk. No learning curves or wasted ad spend.
Do You Have These Nagging Thoughts?
I’m worried it’ll be complicated
It's not, because we've intentionally made it simple. You get a dedicated human customer success contact.
I don’t want to be locked into something
Contracts are out. You’re in control. Cancel any time, but it's smart to give it at least three months.
I’m not sure it’ll work for my type of business
You might be right. But you're probably wrong. Sales pipelines work across all industries. Schedule a call and find out.
I don’t have time to learn another thing
You don’t have to learn anything new. But you can if you want. We're a 'done for you' team that's also passionate about helping you learn.
It sounds too expensive
Not closing deals and missing your revenue goals is even more expensive. A working pipeline pays for itself over and over.
I don't want to change my current sales setup
Not a problem. We can support your current setup to minimize disruption. You just show up and close the opportunity.
Let’s Talk About Your Business goals
No pressure. Just real conversation.
We’ll talk about your goals, the roadblocks you’re facing, and what’s standing in the way of predictable growth. No pushy sales talk. Just an honest conversation about where you are—and advice to help you get to where you could be.
Not Ready For A Video Meeting?
ask a question below

